A common misconception is that INSERT, UPDATE, and DELETE are the “advanced” part of SQL you only need once your tables are set up. They’re not advanced — they’re the three statements you’ll use more often than almost any SELECT, and they carry a specific risk that SELECT never does: they change data permanently. A mistyped WHERE clause in a SELECT just returns the wrong rows. The same mistake in a DELETE removes them.
This guide walks through each of the three statements in sequence, starting from the safest possible setup, moving into the statements themselves, and finishing with the verification step most beginners skip. By the end you’ll be able to insert new rows, change existing ones, and remove rows deliberately — without accidentally touching data you meant to leave alone.
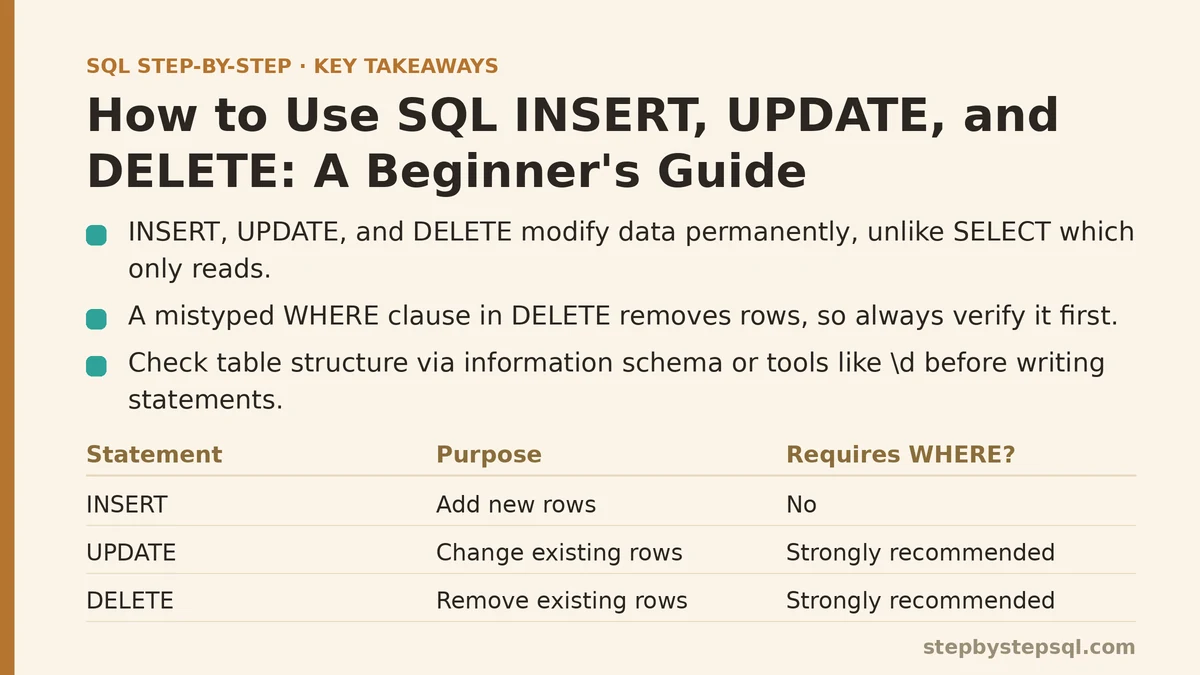
The Three Statements at a Glance
Before diving into the details, here’s how the three data-modifying statements compare so you know which one you’re reaching for and why:
| Statement | Purpose | Rows affected | Requires WHERE? | Reversible? |
|---|---|---|---|---|
INSERT | Add new rows to a table | Rows you specify | No | Yes, until committed |
UPDATE | Change values in existing rows | Rows matching your filter | Strongly recommended | Yes, until committed |
DELETE | Remove existing rows | Rows matching your filter | Strongly recommended | Yes, until committed |
TRUNCATE | Empty an entire table | All rows | N/A (no WHERE allowed) | Usually, with caveats |
The key takeaway: INSERT adds, and it’s hard to get catastrophically wrong. UPDATE and DELETE modify or remove existing data, and both depend entirely on the correctness of your WHERE clause.
Step 1: Know Your Table Before You Touch It
Every safe data modification starts with the same move: inspecting the structure of the table you’re about to change. You need to know which columns exist, which are required, and which have defaults or auto-generated values. Otherwise your INSERT may fail on a missing required column, or your UPDATE may write a value into the wrong column.
The most portable way to check a table’s shape is querying the information schema:
SELECT column_name, data_type, is_nullable, column_default
FROM information_schema.columns
WHERE table_name = 'customers'
ORDER BY ordinal_position;
This returns one row per column, showing the type, whether the column allows NULL, and any default value. Those three pieces of information tell you everything you need before writing a statement against the table.
If you’re working in a specific database tool, there are usually shortcuts. In PostgreSQL’s psql, the command \d customers prints the same information. In MySQL, DESCRIBE customers; gives a similar view. In SQL Server, sp_help 'customers'; does the job. Use whichever your environment supports — the goal is the same.
What to look for before proceeding:
- Which columns are
NOT NULLwith no default — those must appear in yourINSERT - Which columns are auto-generated (identity/serial/auto_increment) — you should not supply those
- Which columns have default values — you can skip them and let the database fill them in
- Whether any column is a primary key or unique — those constrain what values you can write
Step 2: Insert New Rows with INSERT
The basic INSERT statement has two forms. The first supplies values by column order:
INSERT INTO customers (first_name, last_name, email, signup_date)
VALUES ('Amara', 'Okafor', '[email protected]', '2026-07-14');
The column list is not optional in careful practice, even when it is technically optional. Writing INSERT INTO customers VALUES (...) without the column list means your statement depends on the table’s exact physical column order — and if someone later adds a column or reorders them, the statement silently writes to the wrong columns. Always name the columns.
The second form inserts multiple rows in one statement:
INSERT INTO customers (first_name, last_name, email, signup_date)
VALUES
  ('Amara', 'Okafor', '[email protected]', '2026-07-14'),
  ('Diego', 'Ramirez', '[email protected]', '2026-07-15'),
  ('Priya', 'Nair', '[email protected]', '2026-07-15');
Multiple-row inserts are faster than multiple single-row statements because the database processes them in one transaction with one round-trip to the server. For loading more than a handful of rows, this is the preferred approach.
Inserting from Another Table
You can also insert rows pulled directly from an existing table — useful for copying data, archiving, or building a reporting snapshot:
INSERT INTO customers_archive (customer_id, first_name, last_name, email, archived_at)
SELECT customer_id, first_name, last_name, email, CURRENT_TIMESTAMP
FROM customers
WHERE last_activity_date < '2024-01-01';
Notice there’s no VALUES keyword here. When inserting from a query, the SELECT supplies the values directly, and the column counts and types must line up on both sides.
Auto-Generated Columns
If your table has an auto-incrementing primary key (often called id, SERIAL, IDENTITY, or AUTO_INCREMENT depending on the database), do not supply a value for it. Let the database assign one. Providing your own value in a table with an identity column will either fail (in stricter databases like PostgreSQL) or create silent gaps and conflicts (in looser ones).
A Common INSERT Failure
The most frequent INSERT error is a NOT NULL violation: a required column was omitted from both the column list and the VALUES tuple. The error message usually names the specific column. Read it, add the column, and retry. There’s nothing subtle here — the fix is almost always to supply the missing value.
Step 3: Change Existing Rows with UPDATE
UPDATE modifies rows that already exist. The syntax always has two parts:
UPDATE customers
SET email = '[email protected]'
WHERE customer_id = 42;
The SET clause names the column(s) and their new values. The WHERE clause selects which rows to change. Omitting the WHERE clause is legal SQL — and it will change every row in the table. That is the single most dangerous thing you can do with this statement, and it’s why the next step matters so much.
Updating Multiple Columns
Separate assignments with commas:
UPDATE customers
SET
  email = '[email protected]',
  last_name = 'Okafor-Adams',
  updated_at = CURRENT_TIMESTAMP
WHERE customer_id = 42;
All assignments happen “at once” conceptually — the database does not apply the first assignment, then read the updated row for the second. This matters if you swap values between columns. The following swaps the values correctly, because the right-hand sides are evaluated against the row’s original state:
UPDATE inventory
SET in_stock = reserved, reserved = in_stock
WHERE product_id = 101;
Updating Based on Existing Values
You can reference the current column value on the right side of the assignment. This is how you increment counters, append to fields, or shift dates:
UPDATE accounts
SET login_count = login_count + 1,
    last_login_at = CURRENT_TIMESTAMP
WHERE account_id = 88;
Careful with NULLs here. NULL + 1 evaluates to NULL, not 1. If login_count might be NULL, wrap it: COALESCE(login_count, 0) + 1.
Updating from Another Table
Some databases support a FROM clause or a JOIN in UPDATE, letting you pull values for the update from a joined table:
UPDATE customers c
SET tier = t.tier_name
FROM tier_levels t
WHERE c.total_spend >= t.min_spend
  AND c.total_spend < t.max_spend;
The exact syntax varies between PostgreSQL, SQL Server, and MySQL — check your database’s documentation before copying this form across systems.
Step 4: Remove Rows with DELETE
DELETE removes rows matching a filter:
DELETE FROM customers
WHERE customer_id = 42;
Like UPDATE, omitting the WHERE clause deletes every row in the table:
DELETE FROM customers; -- deletes all rows, keeps the table structure
This is not the same as TRUNCATE TABLE customers;, though the visible result is similar. TRUNCATE is typically faster (it doesn’t scan rows individually), resets auto-increment counters in some databases, and cannot be filtered by WHERE. DELETE is the right tool when you need to remove a specific subset, when you need the operation to fire row-level triggers, or when you need it logged row-by-row for replication. TRUNCATE is the right tool when you need to empty a staging table entirely and speed matters.
Deleting with a Subquery
To delete rows based on a condition involving another table, use a subquery:
DELETE FROM orders
WHERE customer_id IN (
  SELECT customer_id
  FROM customers
  WHERE status = 'closed'
);
This removes every order belonging to a closed customer. Before running a statement like this, verify the inner query first — run the SELECT on its own, confirm the row count, then run the DELETE.
Step 5: Always Verify with a SELECT First
Here is the habit that separates safe modifications from destructive ones. Before running UPDATE or DELETE, run the exact same WHERE clause inside a SELECT and confirm the row count is what you expect:
-- Step A: preview the rows that will be affected
SELECT *
FROM customers
WHERE customer_id = 42;
-- Confirm this returns exactly 1 row, and it's the row you mean

-- Step B: run the modification
UPDATE customers
SET email = '[email protected]'
WHERE customer_id = 42;

-- Step C: verify the change landed
SELECT customer_id, email, updated_at
FROM customers
WHERE customer_id = 42;
This three-step pattern — preview, modify, verify — costs you a few extra seconds per statement. It prevents the kind of mistake that costs hours to recover from.
Counting Rows Affected
Most database clients report the number of rows affected by an UPDATE or DELETE immediately after execution. That number should equal the count your preview SELECT returned. If it doesn’t, something in your WHERE clause behaved differently than you expected — stop and investigate before doing anything else.
Step 6: Use Transactions to Make Changes Reversible
For any modification you’re not certain about, wrap it in a transaction. This gives you an explicit undo:
BEGIN;

UPDATE customers
SET tier = 'premium'
WHERE total_spend > 10000;

-- Inspect the result before committing
SELECT tier, COUNT(*)
FROM customers
GROUP BY tier;

-- If it looks right:
COMMIT;

-- If it looks wrong:
-- ROLLBACK;
Inside a transaction, nothing is permanently written until you issue COMMIT. If the verification query reveals a problem, ROLLBACK returns the data to its exact state before the transaction began. This works in PostgreSQL, MySQL (with InnoDB tables), SQL Server, and most other relational databases.
A caveat worth knowing: DDL statements (like ALTER TABLE or TRUNCATE in many databases) may auto-commit and cannot be rolled back inside the same transaction. Only DML statements — INSERT, UPDATE, DELETE — participate in normal transaction rollback.
Step 7: Explaining Trade-offs and When NOT to Use Each Statement
The three statements aren’t interchangeable, and in some situations one of them is the wrong tool entirely:
When not to use UPDATE:
- If you’re effectively rewriting more than about 60-70% of a table’s rows, a different pattern — creating a new table and swapping it in — is often faster and easier to reason about. Row-by-row updates carry significant per-row overhead.
- If you’re fixing data that an upstream system produced, updating the downstream copy hides the real problem. Fix the source, then re-import.
When not to use DELETE:
- If you need to preserve a record for auditing or history, use a status column or a soft-delete pattern (e.g.,
deleted_attimestamp) instead. Hard-deleting removes the row permanently, with no trace. - If you need to empty an entire table,
TRUNCATEis almost always the better choice — faster and simpler.
When not to use INSERT:
- If the same row may already exist, plain
INSERTwill fail on a unique constraint. UseINSERT ... ON CONFLICT DO NOTHING(PostgreSQL),INSERT IGNORE(MySQL), orMERGE(SQL Server, Oracle) to handle the duplicate gracefully. - If you’re loading thousands of rows, a bulk-load utility (PostgreSQL’s
COPY, MySQL’sLOAD DATA INFILE, SQL Server’sbcp) is dramatically faster than individualINSERTstatements.
Step 8: Understand Common Failure Modes
Even well-written statements fail for predictable reasons. Knowing the failure modes lets you recognize the error message and fix it quickly:
- Foreign key violation. Inserting a row whose foreign key doesn’t exist in the referenced table, or deleting a row that other rows still point to. Either create the parent record first, or use
ON DELETE CASCADEin the constraint if the child rows should go too. - NOT NULL violation. Omitting a value for a required column with no default. Supply a value, or alter the column to have a default.
- Unique constraint violation. Inserting a duplicate value in a column that must be unique (typically email, username, or ID). Check for the existing row, or use an upsert.
- Type mismatch. Writing a string into an integer column, or a malformed date. Check the column type from Step 1 and adjust the value format.
- Datatype overflow. Writing a number larger than the column type allows (e.g., 40,000 into a
SMALLINT). Check the column’s max value before writing. - WHERE clause returns zero rows.
UPDATEandDELETEcomplete successfully but affect nothing. This usually means the filter is too strict or is comparing against NULL — remember thatcolumn = NULLnever matches; usecolumn IS NULLinstead.
A Quick Reference Checklist
Before running any INSERT, UPDATE, or DELETE on data you care about, run through this list:
- Confirmed the table structure with
information_schemaor a describe command - Written the
WHEREclause as a standaloneSELECTfirst, and confirmed the row count - Wrapped the modification in a transaction (
BEGIN…COMMIT) - Ran the statement and compared the affected row count to the preview count
- Verified the result after the change with a follow-up
SELECT - Committed only after the verification query looked correct, otherwise rolled back
That checklist, applied every time, is what turns data modification from the scariest part of SQL into one of the most straightforward.